
Virtual Try On
Virtual try on with two photos: you, and the piece you want to see on you. Your first image is free, no sign-up, no credit card.
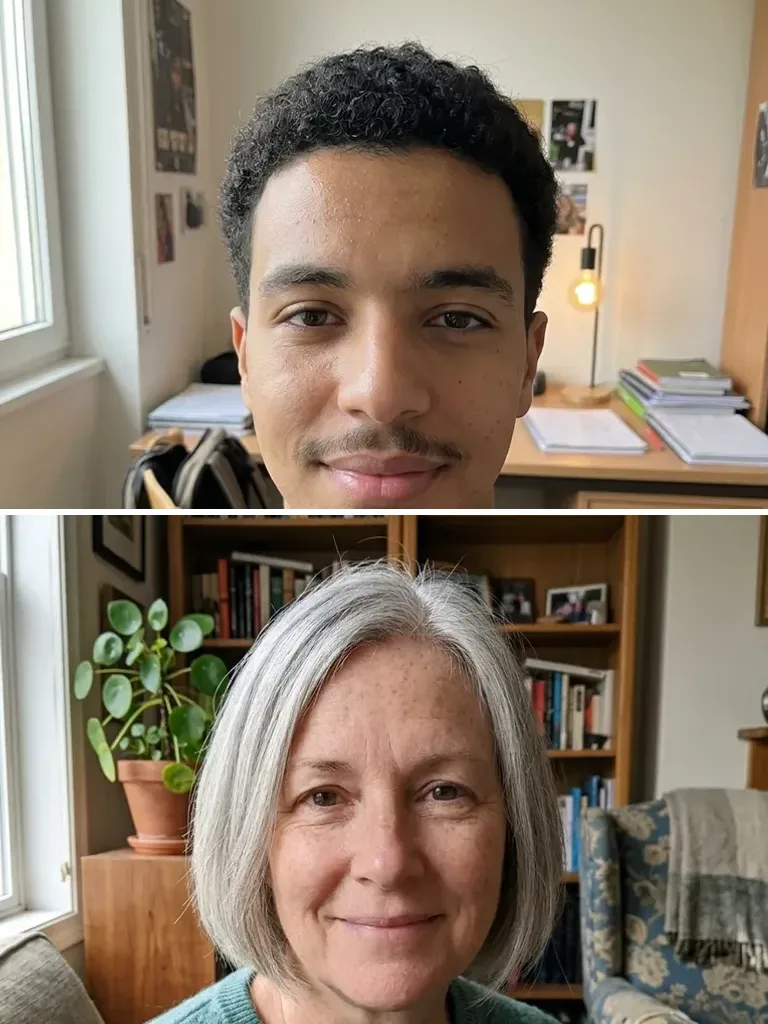 Before
 After
Example result. Upload your photo to make yours.
Examples
BeforeAfterHow to do a virtual try on with two photos
Two uploads and one choice. The clothing comes only from your second photo, so there is nothing to type.
- 1
Upload a photo of you
Use a photo with one person, facing the camera, with the clothes you want to swap in view. JPEG, PNG or WebP up to 10 MB works, and a phone's HEIC photo is converted in your browser first.
- 2
Add the clothing photo
This can be a flat-lay, a piece on a hanger, a product shot from a shop, or a photo of someone wearing it. If a person is in it, the model is told to take only their clothing, never their face, hair or pose.
- 3
Pick the clothing type
Full Outfit, the default, replaces everything the clothing photo covers. Top keeps the rest of your clothes, Bottom keeps your own top, Dress swaps in a complete dress, and Outerwear goes over what you already wear.
- 4
Generate, compare and download
Your virtual try on appears next to your original photo as one 3:4 portrait. It is AI output, so compare the face and the garment with your two photos, then download it, because results are not saved on the site.
Virtual try on vs a fitting room or a store's try-on
Three ways to see a piece on you before you buy it, and what each one can and can't tell you.
| This virtual try on | Store fitting room | A store's own try-on button | |
|---|---|---|---|
| What you can try | The garment in the photo you upload, wherever you found it | What that store has on the rack | Products from that store's own catalog |
| Where | In your browser, on a photo of you | In person, at the store | On that store's site or app |
| Clothing image it uses | Flat-lay, hanger, product shot or someone wearing it | None, you wear the real piece | The store's own product images |
| Real size and fit | No, it doesn't know your measurements | Yes, the real garment on your body | Varies by store |
| Feel the fabric | No | Yes | No |
| Cost | One free image per visitor, no sign-up | Free, plus the trip | Varies by store |
Before your virtual try on: photo checklist
You get one free image across the whole site, so set up both photos well before you press the button.
- Pick a photo of you that shows the part of your body the new piece would cover; a chest-up selfie suits a top or a sweater.
- Make sure the whole garment is visible in the clothing photo, not cropped at the collar, sleeves or hem.
- Choose a clothing photo where the color looks true in even light, since the color is taken from that photo.
- When the clothing photo shows a single piece, pick Top, Bottom, Dress or Outerwear instead of Full Outfit, so the model knows what to replace.
- A photo of a friend wearing the piece works as the clothing photo; ask them first, and only the clothing is meant to carry over.
- Upload only photos of adults, of yourself or of people who agreed, since the site is for people 18 and over.
- Check that each file is a JPEG, PNG or WebP under 10 MB, or a phone HEIC that the browser converts.